Lightweight, expandable, and eco-friendly!
This bag is a crochet staple. We start with a sturdy double-crochet round base so your small items don’t fall out, then transition into a stretchy mesh that expands to hold way more than you’d think.
Project Overview
- Skill Level: Beginner
- Terminology: US Terms
- Construction: Worked in the round from the bottom up.
- Gauge: Not critical, but the base (Round 11) should measure approx. 10.2 inches (26 cm)
Materials
- Hook: 5.0mm (US H/8)
- Yarn: ~200g (Approx. 380-400 yards) of Medium Weight (4) 100% Cotton Yarn.
- Tapestry Needle
Special Stitches & Techniques
Magic Ring (MR): Provides a seamless start to the bag base. If you prefer, you can Ch 4 and sl st to the first ch to form a ring instead.
Abbreviations (US Terms)
- MR: Magic Ring
- ch: chain
- st(s): stitch(es)
- sl st: slip stitch
- sc: single crochet
- dc: double crochet
- sk: skip
The Pattern
Rnd 1: In MR, ch 2, 11 dc. Join with sl st to top of ch-2. (12)
Rnd 2: Ch 2, 2 dc in each st around. Join with sl st. (24)
Rnd 3: Ch 2, *1 dc in next st, 2 dc in next*. Repeat from * around. Join with sl st. (36)
Rnd 4: Ch 2, *1 dc in next 2 sts, 2 dc in next.* Repeat from * around and join with sl st. (48)
Rnd 5: Ch 2, *1 dc in next 3 sts, 2 dc in next*. Repeat from * around. Join with sl st. (60)
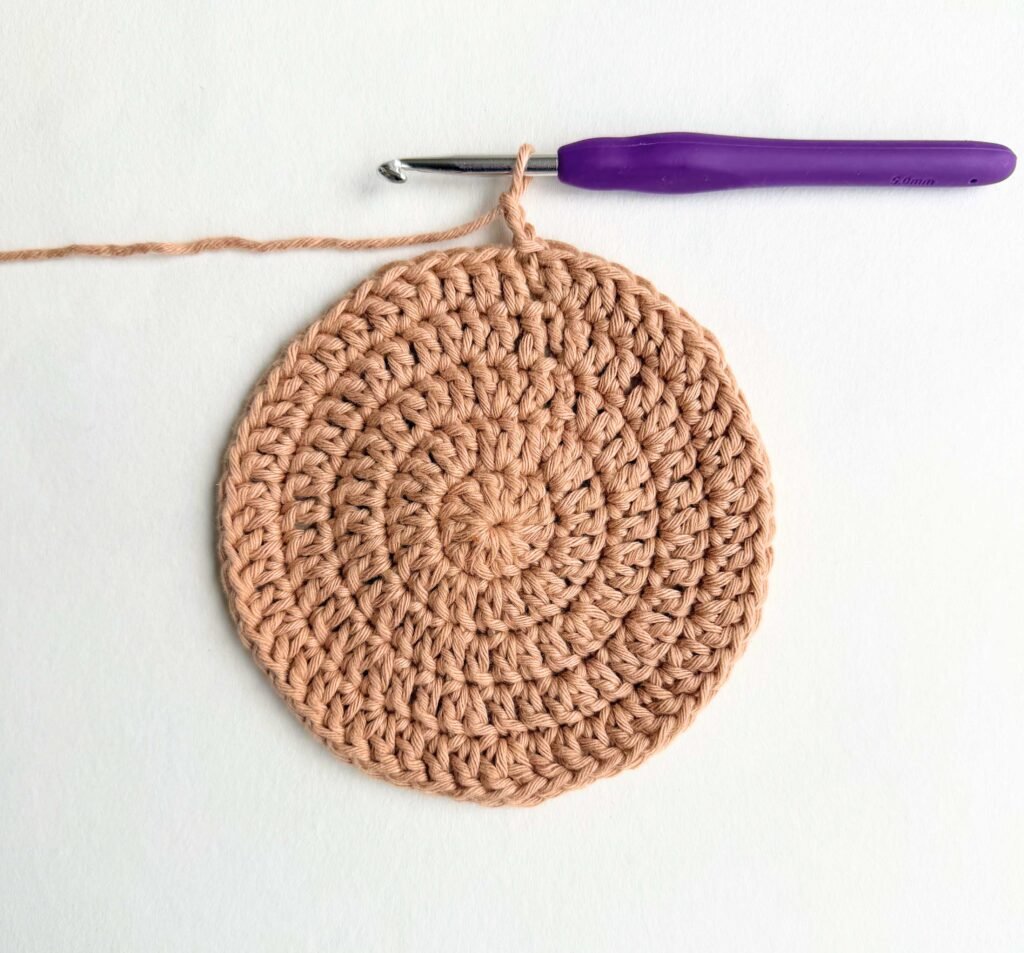
Rnd 6: Ch 2, *1 dc in next 4 sts, 2 dc in next*. Repeat from * around. Join with sl st. (72)
Rnd 7: Ch 2, *1 dc in next 5 sts, 2 dc in next*. Repeat from * around. Join with sl st. (84)
Rnd 8: Ch 2, *1 dc in next 6 sts, 2 dc in next *. Repeat from * around. Join with sl st. (96)
Rnd 9: Ch 2,* 1 dc in next 7 sts, 2 dc in next*. Repeat from * around. Join with sl st. (108)
Rnd 10: Ch 2, *1 dc in next 8 sts, 2 dc in next *. Repeat from * around. Join with sl st. (120)
Rnd 11: Ch 2, *1 dc in next 9 sts, 2 dc in next*. Join with sl st. (132)
The Mesh Body
Note: In Rnd 12, we transition from flat to sides.
Rnd 12: Ch 5, sk 2 sts, sl st in next st. *Ch 5, sk 2 sts, sl st in next*. Repeat from * around until 1 st remains. To join: Ch 5 and sl st into the first ch-5 loop of the round.
Rnd 13–27: Ch 5, sl st into the next ch-5 loop (working around the chain, not into it). Repeat until the bag measures approx. 15 inches (38cm) or your desired height.
The Border & Straps
Rnd 28: Ch 1 (does not count as st). Work 3 sc into each ch-5 loop around. (Approx. 132 sc)
Rnd 29–32: Sc in each st around.
Rnd 33 (Strap Placement): Sc in next 20 sts. Ch 100 (for a 12,6 inches (32cm) strap). Skip 20 sts. Sc in next 46 sts. Ch 100. Skip 20 sts. Sc in remaining 26 sts.
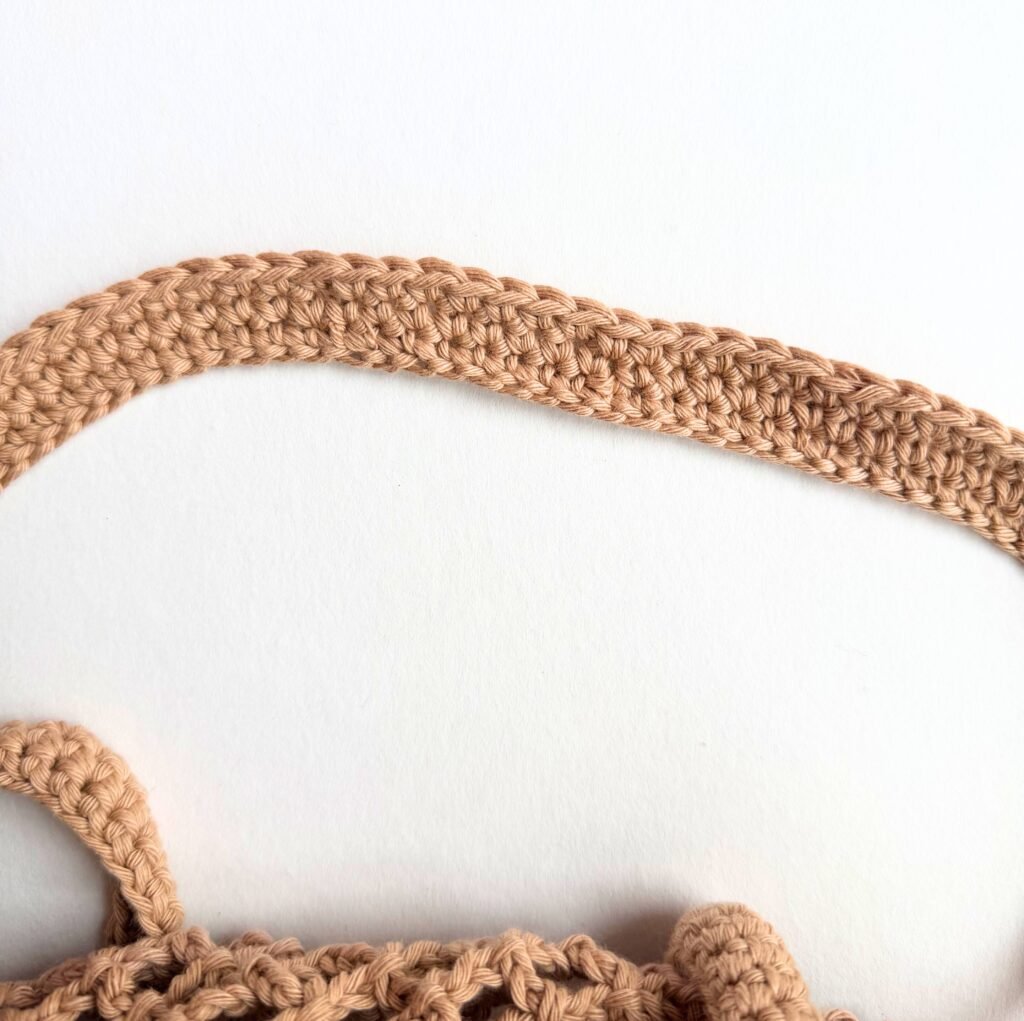
Pro Tip: Use stitch markers to mark the skipped stitches to ensure handles are perfectly centered.
Rnd 34: Sc in next 20 sts. Work 100 sc around the chain strap. Sc in next 46 sts. Work 100 sc around the second chain handle. Sc to end.
Rnd 35–36: Sc in each st around to strengthen the straps.
Finish: Sl st in the final stitch. Fasten off and weave in all ends securely with a tapestry needle.
Congratulations!
You’ve officially finished your new Market Bag!
You now have a durable, eco-friendly accessory that is as functional as it is beautiful. Whether you’re heading to the farmer’s market, the beach, or just using it to store your current yarn stash, I hope you enjoy using it as much as I enjoyed designing it.
Show Off Your Work!
Crochet is a community, and I would love to see your finished bag!
Every time you share a photo, it helps other makers find my patterns.
Instagram: Tag me @ydascrochetcorner
Frequently Asked Questions (FAQ)
1. What is the best yarn for this crochet market bag?
For this specific pattern, 100% cotton yarn is highly recommended. Cotton has very little “spring,” meaning your bag won’t stretch down to your knees once you put a heavy watermelon in it! It’s also durable and machine-washable.
2. Can I make the straps longer or shorter?
Absolutely! In Round 33, I suggest a chain of 100 for an 8” drop (perfect for over-the-shoulder). If you want a hand-carry bag, try a chain of 50. If you like a crossbody style, increase the chain to 150 or more. Just remember to do the same number for both handles!
3. My base is curling/wavy. Is that okay?
A little bit of “wavering” is normal for a flat circle and usually pulls straight once you start the mesh sides (Round 12). However, if it looks like a ruffled bowl, check your stitch count—you might have accidentally added extra increases.
4. How do I make the bag larger?
If you want a “jumbo” market bag, simply continue the increase pattern for the base (Rnd 12, 13, etc.) before starting the mesh. For every extra round of the base, you will add 12 stitches to your total circumference.
5. Is this pattern beginner-friendly?
Yes! If you know how to Magic Ring, Double Crochet, and Chain, you can make this bag. The mesh section is very repetitive, making it a great “meditative” project for beginners.
“Still have questions? If you run into any trouble or find a typo in this pattern, please don’t hesitate to reach out. I’m here to help.
Copyright
This pattern is for personal use only. The design, photos, and written instructions are the intellectual property of YdasCrochetCorner. Sharing & Distribution: You may not copy, redistribute, or sell this pattern (or any part of it) in any form. Instead, feel free to share the link to my blog! You are welcome to sell physical items made from this pattern! If you sell them online, please provide a link to my shop or credit me as the designer (e.g., “Pattern by [YdasCrochetCorner]”).